Generate your first pdf document from Airtable
Video Tutorial
The contents of this tutorial are available as YouTube video as well. If you prefer, you can watch it here
Pre-requisites
- FlexiPage should have permission to read/write to the desired base. Make sure you have connected your Airtable account in settings. You can add permissions for new bases as follows. Click profile icon in Airtable -> Integrations -> Third Party Integrations -> FlexiPage. Go to the latest flexipage connection and add your base if it's not there.
Base Setup
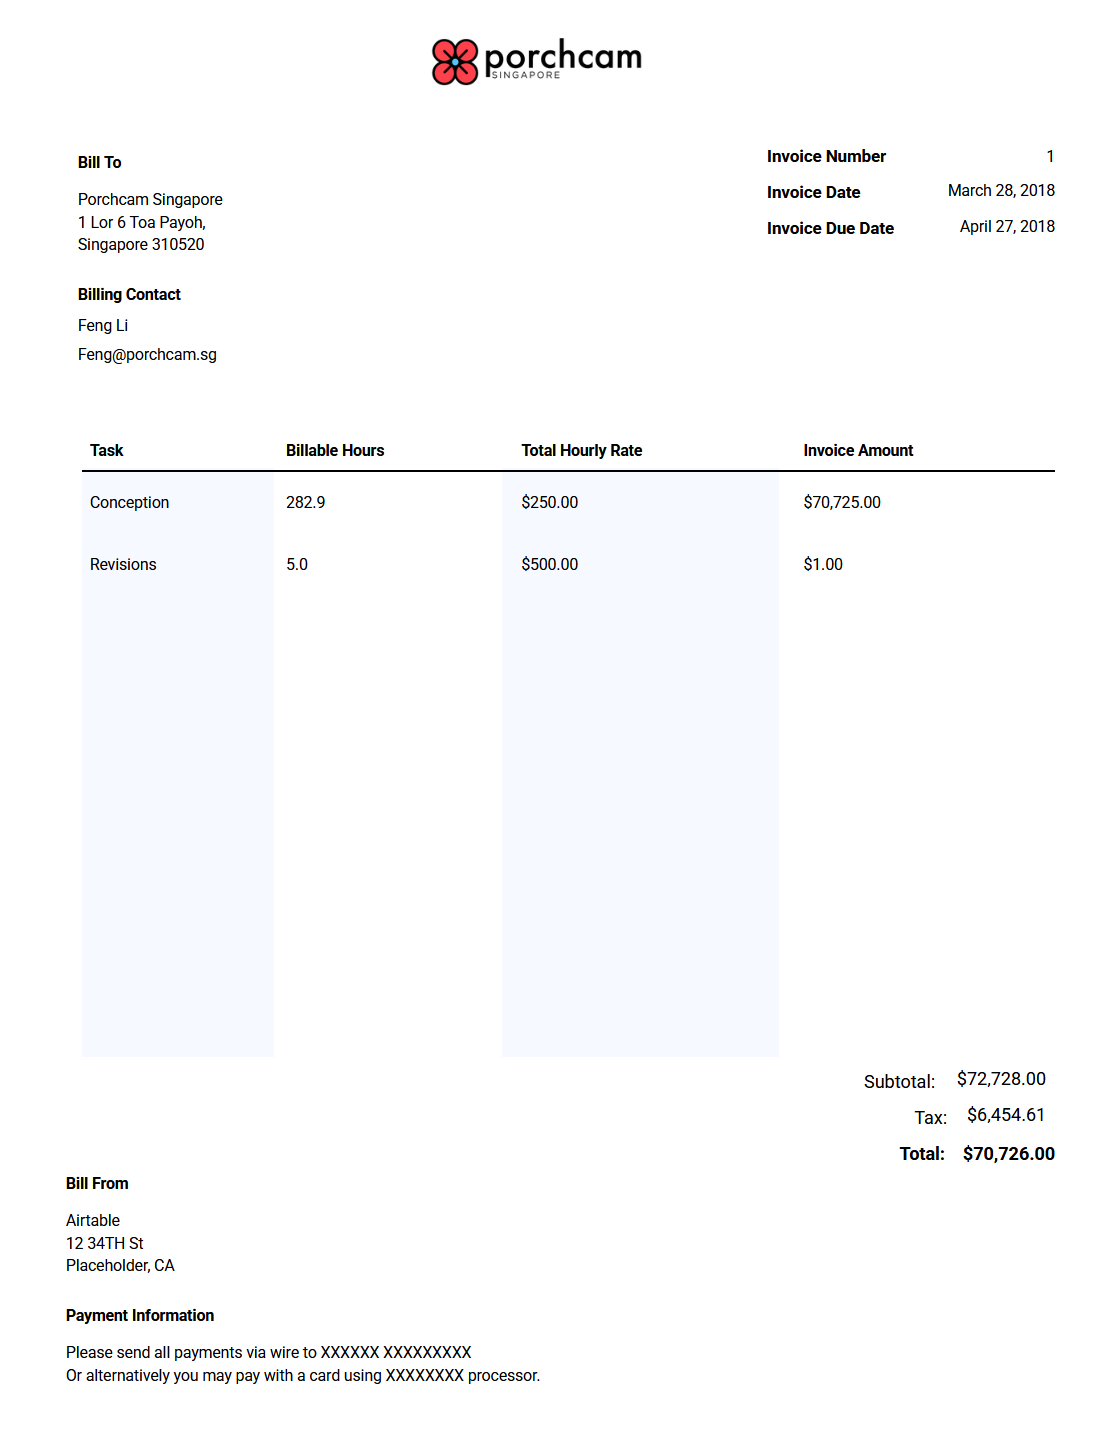
We will use this sample invoice base to create our first invoice document. Head over to the Invoice table to see the structure. The base includes a Page Designer extension with a prebuilt invoice — we'll recreate a similar one in this tutorial. You can also follow along using your own base. We will be using fields from the above table, which you can replace with your own.
Create Document Template
We have a dynamic logo, Invoice number, dates, Bill To, Billing Contact and line items table. We'll first start with logo. First create a new document using the plus button in the extension. Change Title to Invoice
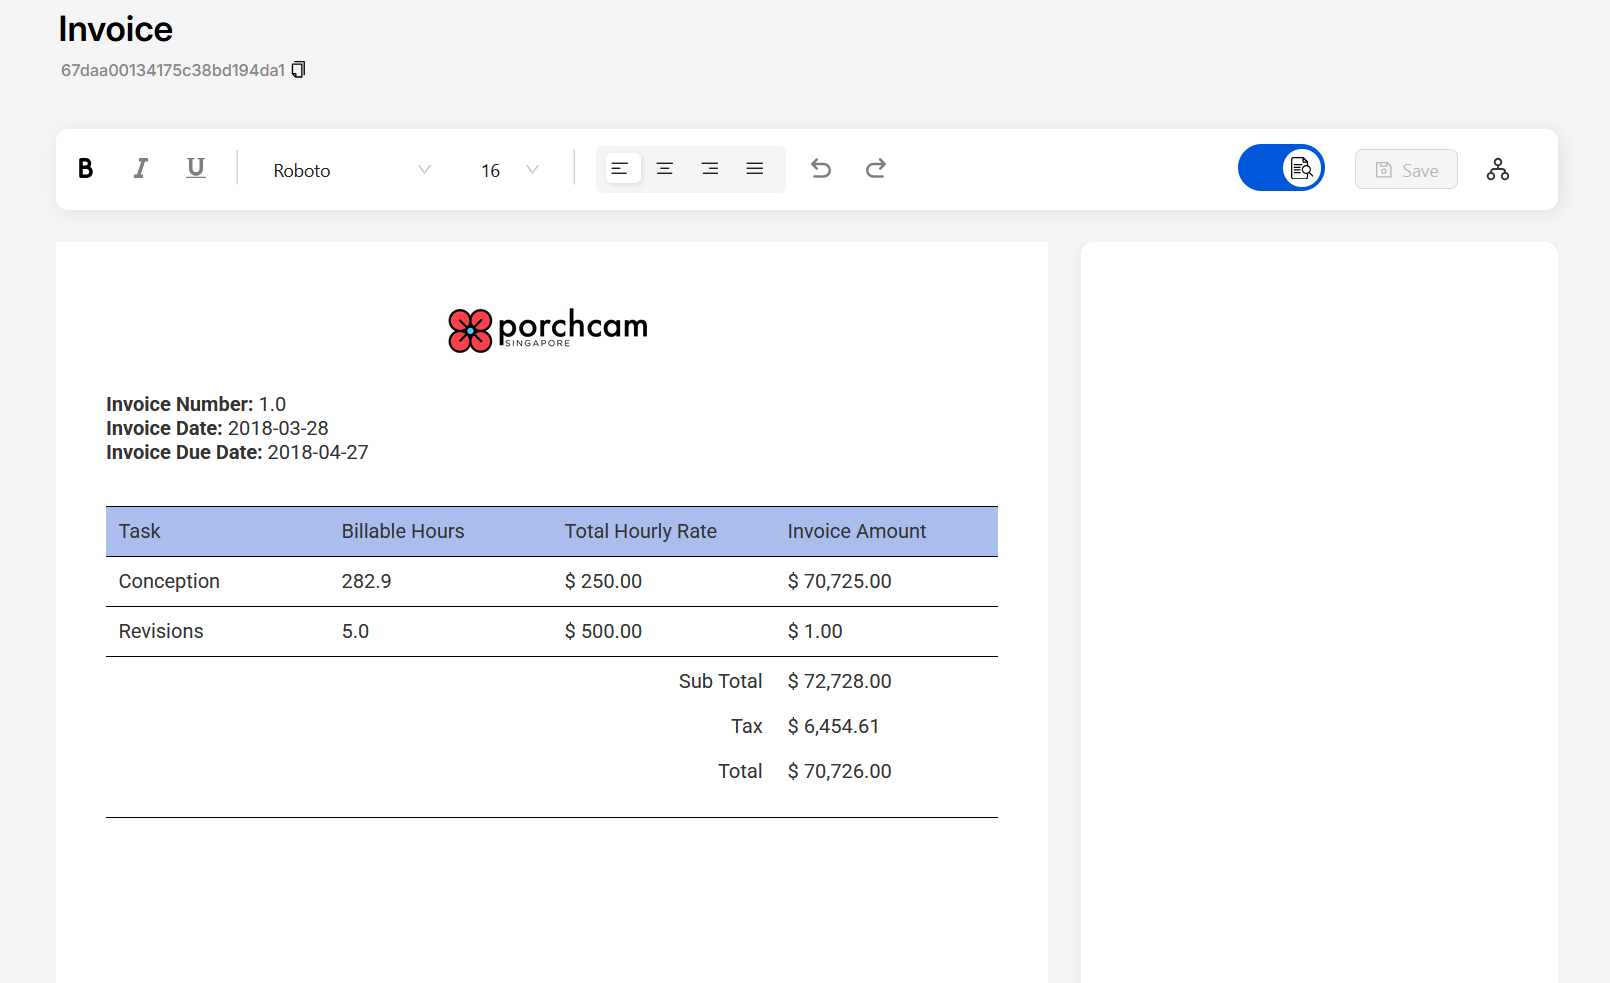
While creating document templates, toggle the preview checkbox in toolbar to see a preview of your document with airtable data
Logo
Invoice table has logo attachment field for each record. We'll use this field to populate our logo.
- Select Image component from library by typing
/in the editor. - If you have static logo, hover over image and select upload button and add your image.
- For dynamic logo, select the image placeholder with left mouse click. On the right panel you will see a dropdown for
field selection. Select
Logofield and set attachment position as 0 for first image in the field.


Invoice number, dates, Billing
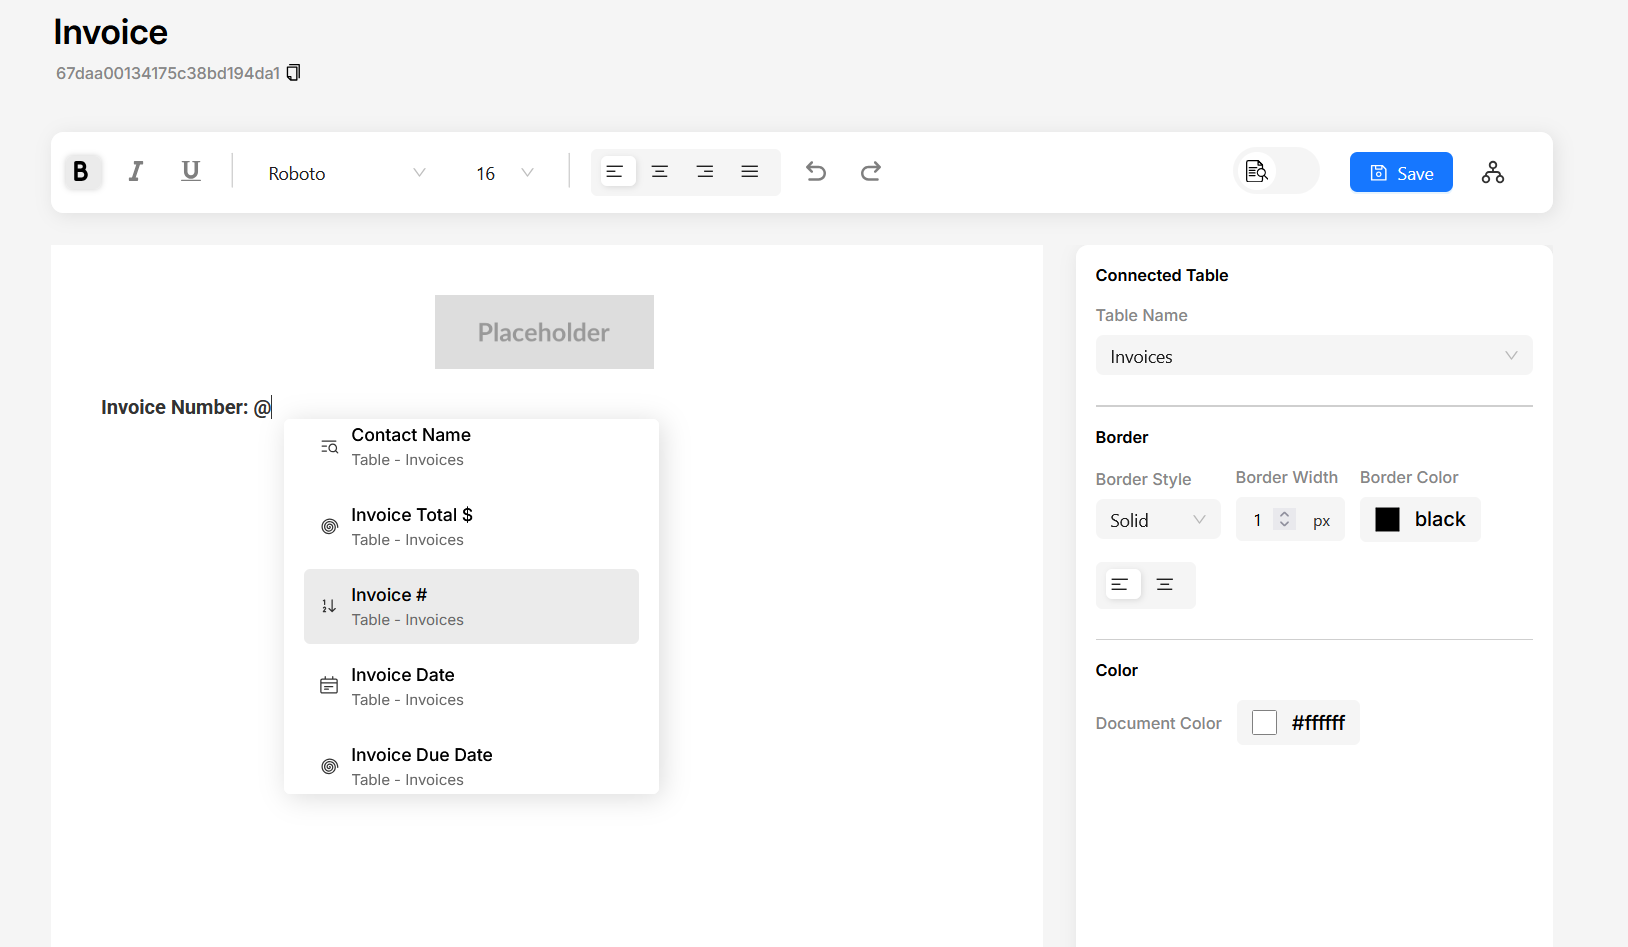
For Invoice Number, Date and Due date we have corresponding fields in Invoice table. You can Just type
Invoice Number : followed by @. Once you type @ you'll see a drop-down of all the fields
in Invoice Table. Type
for the field name and select the Invoice # field.
In similar way you can create the Bill To and Billing Contact sections. Type out the heading and then use @ to select the
field
If you want Bill To and Billing Contact to be side by side, you can use our column component.

Line Items table
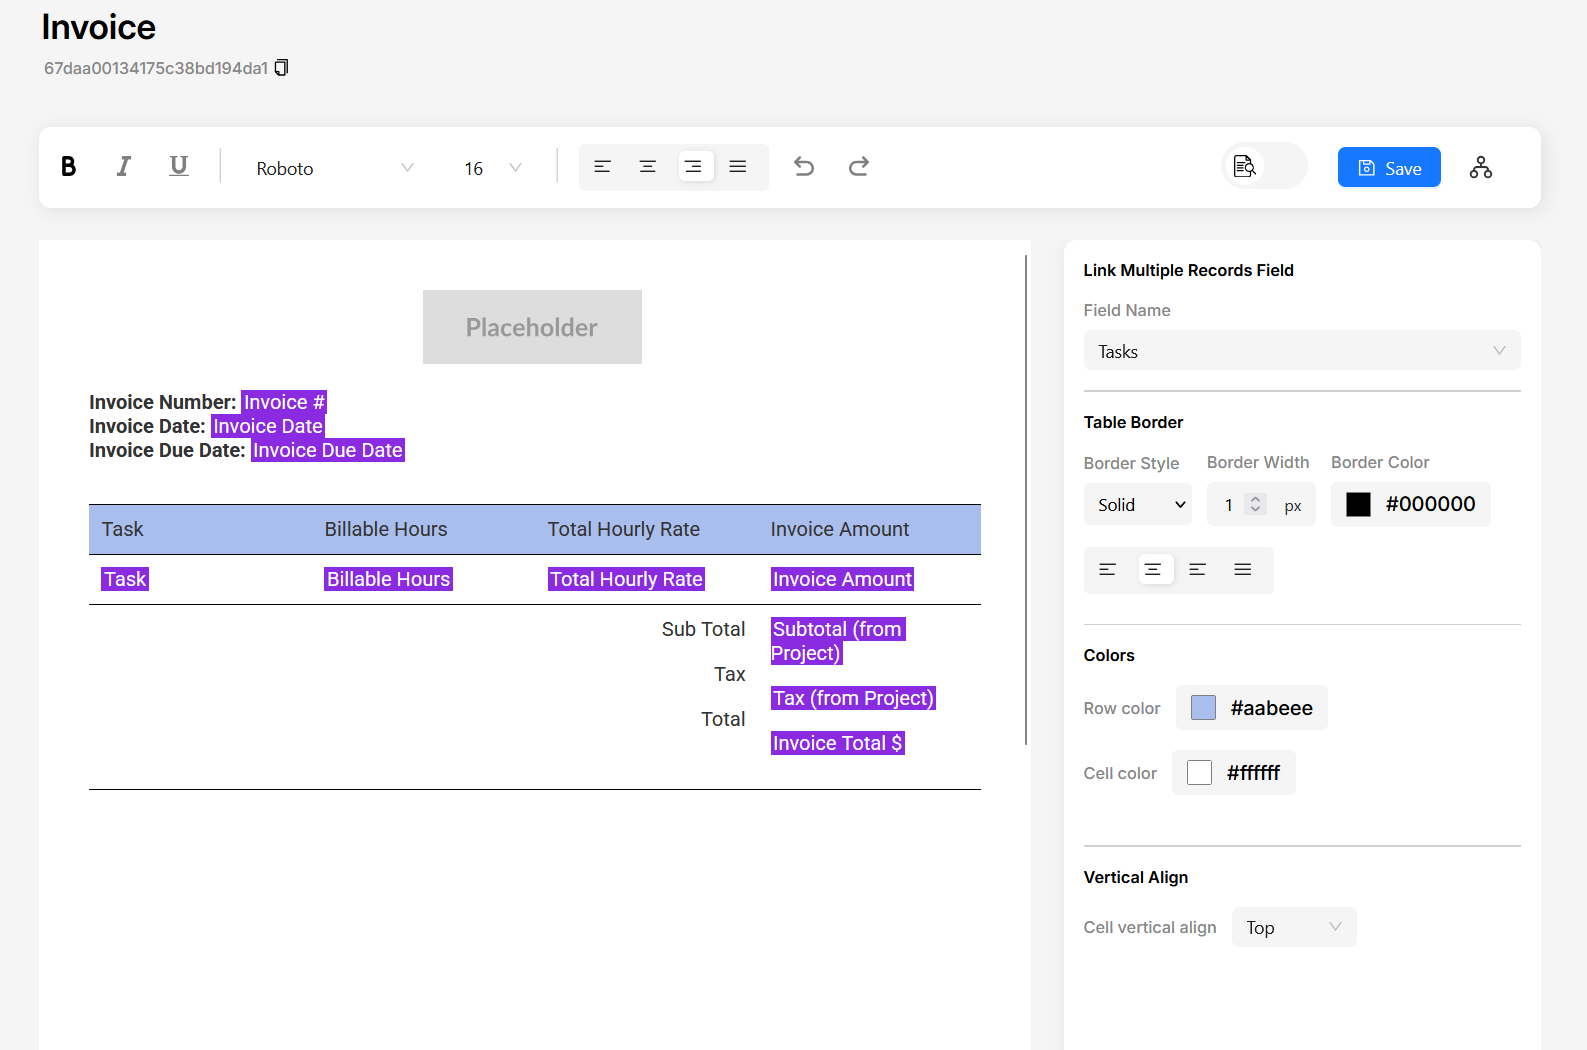
Quickly create a table from tasks field which has a field type of "Link to Another Record".
- Type
/in the editor and select Dynamic Table Component. - In the dialog that appears, select
tasksfield and choose which fields from tasks table you want to display in table - Click create table
You can control table styles (Borders, colors, alignment) from the right side properties panel. Just select any part of the table and you'll see style properties for table
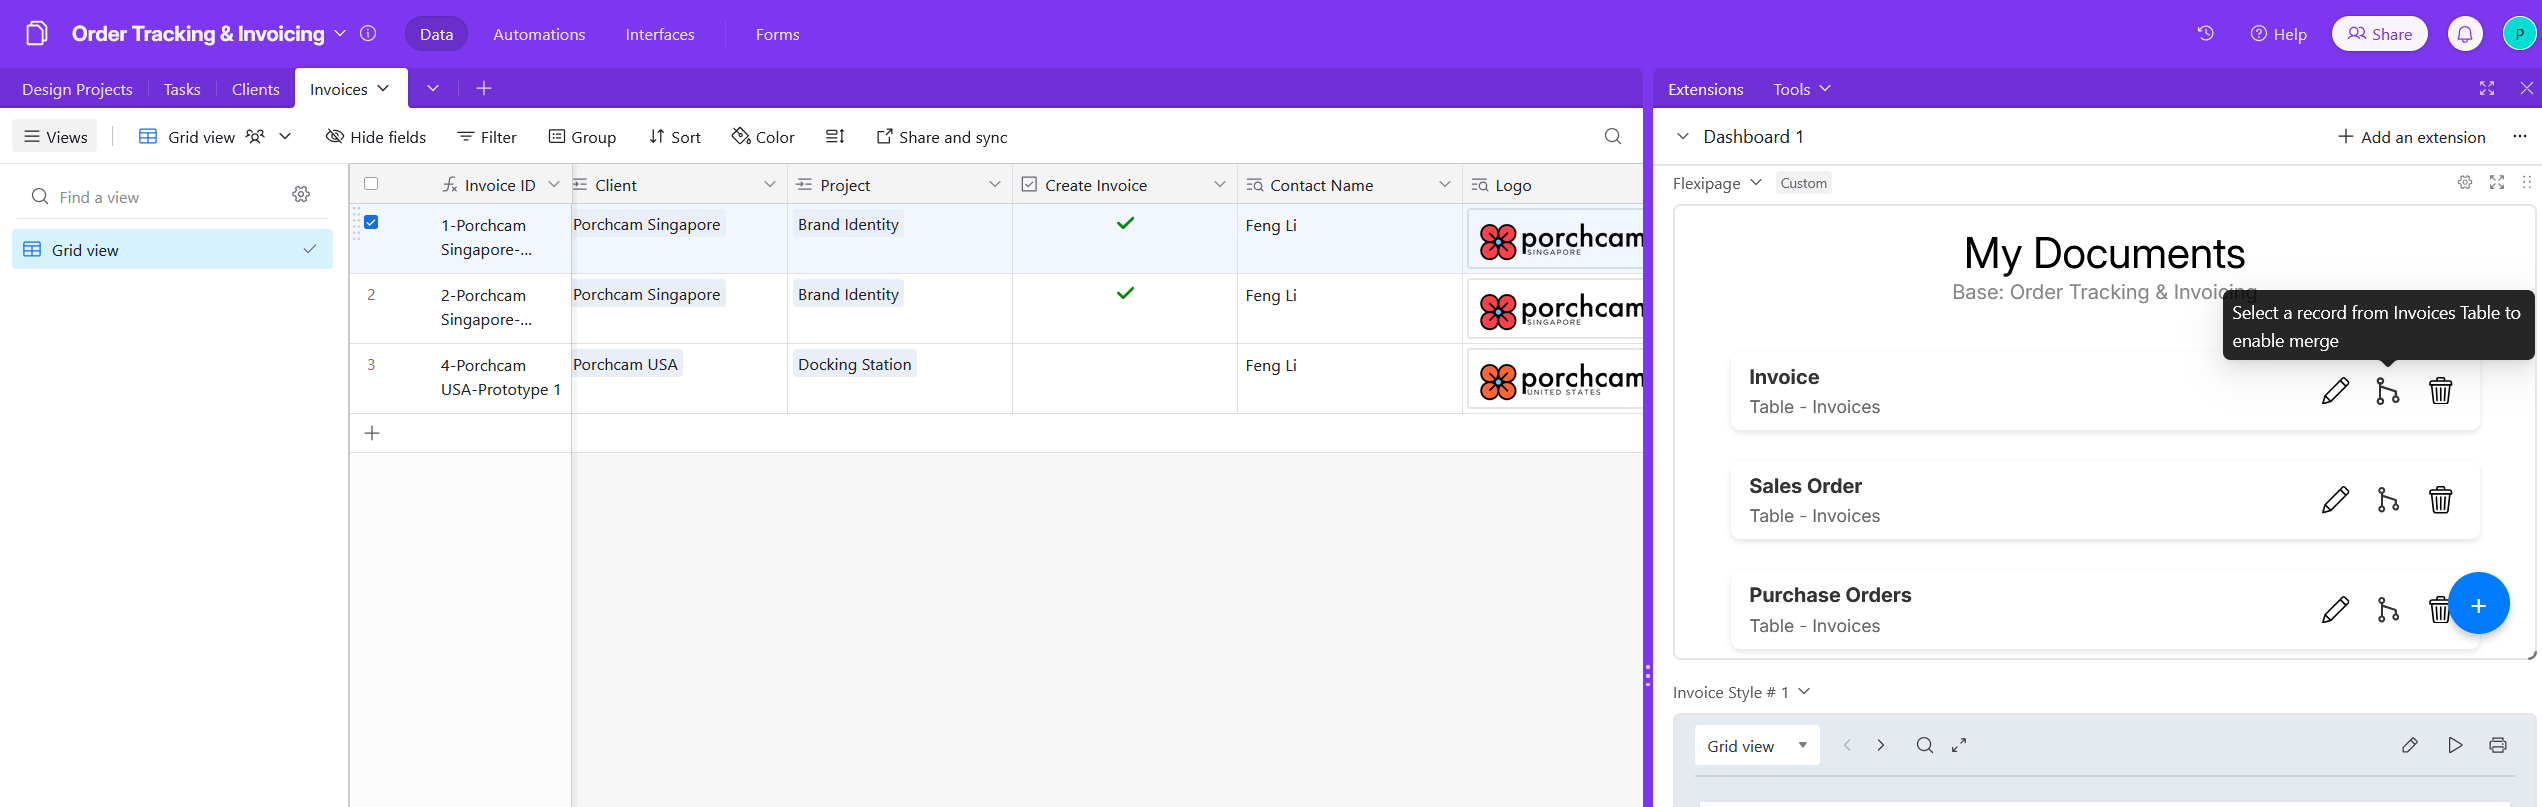
Merge with a single record
Save the document and close the editor view. From the Invoice table, select a record and click the merge icon in the invoice document card in FlexiPage extension. A pdf download will start.
Automate
Check out our next tutorial to learn how to Automate document templates with FlexiPage.