Create email template with Airtable fields
Video Tutorial
The contents of this tutorial are available as YouTube video as well. If you prefer, you can watch it here
Pre-requisites
- Airtable account with necessary permissions should be connected to FlexiPage. If you're unsure of permissions, you can just disconnect and re-connect airtable in Settings.
- Sender accounts must be configured. Connect a Gmail/Outlook account in settings.
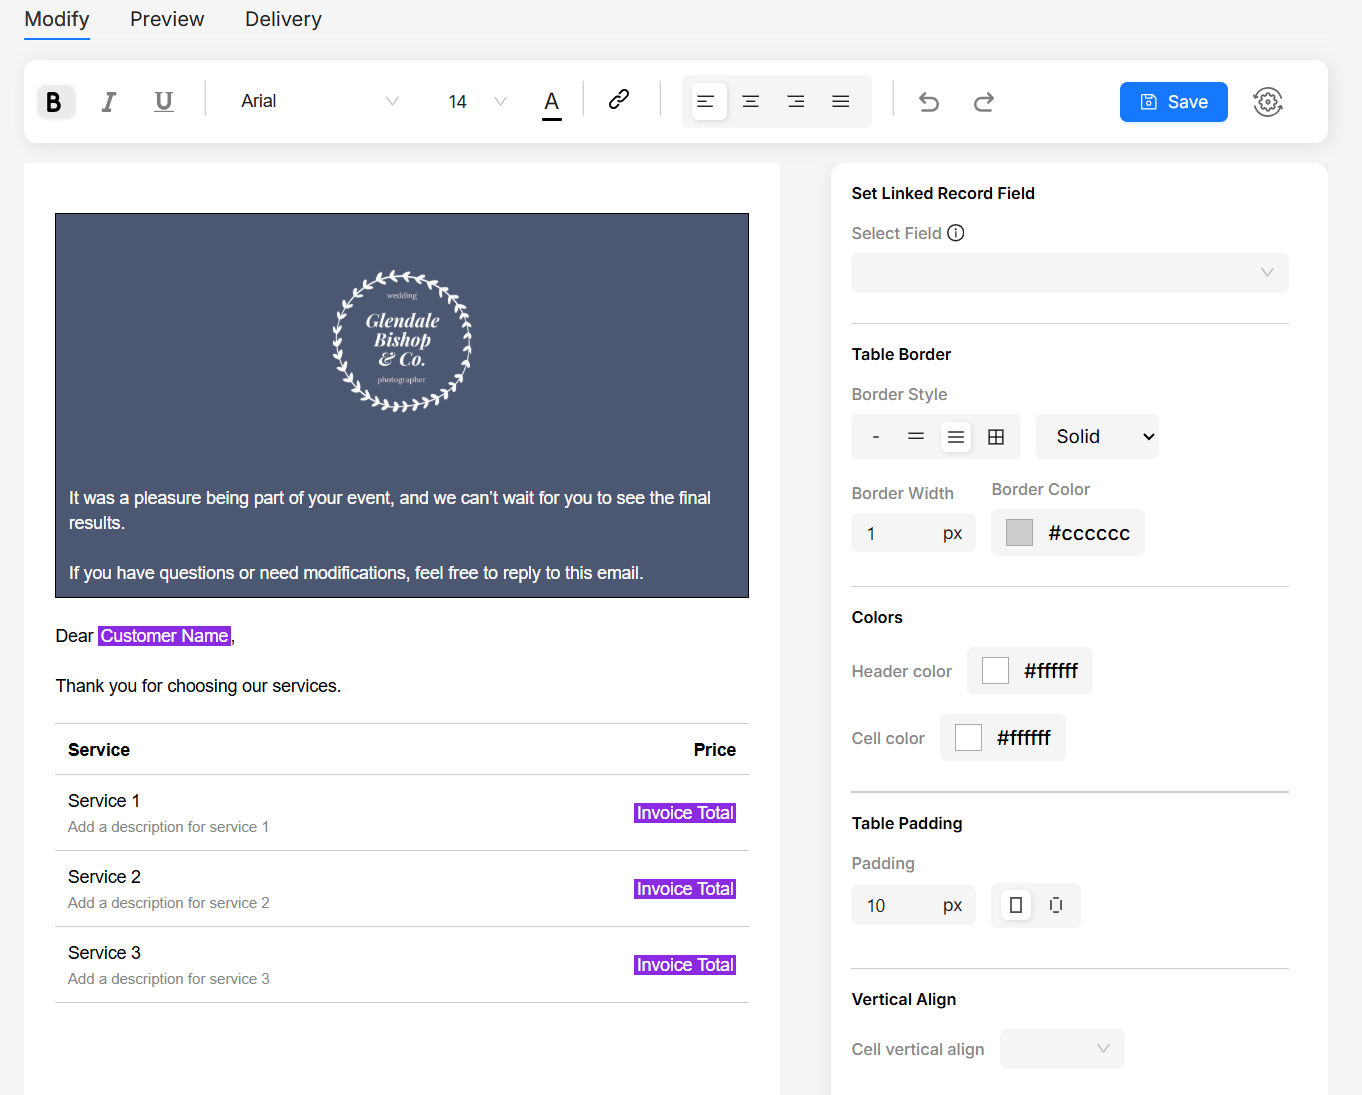
Create email template
Click on create button and select the email template. Select the desired base and table.
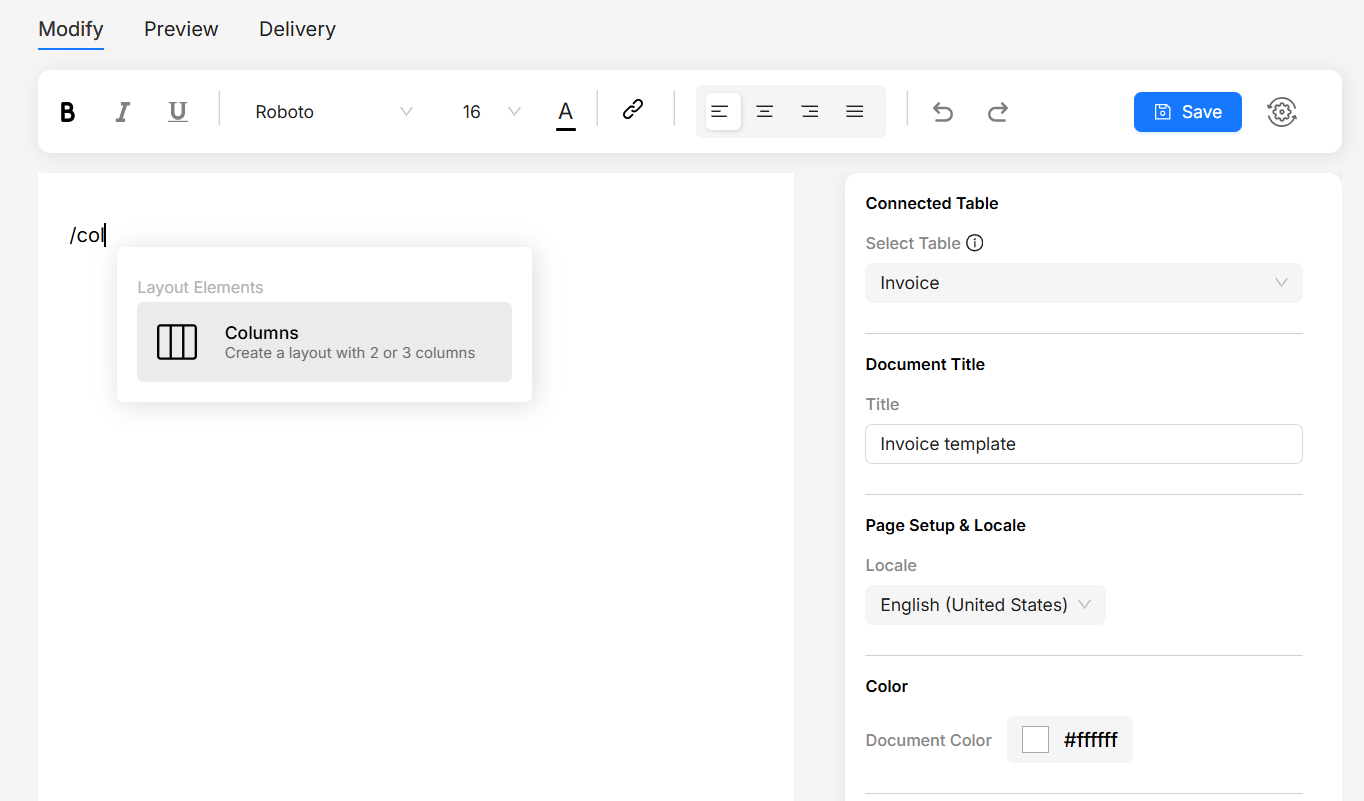
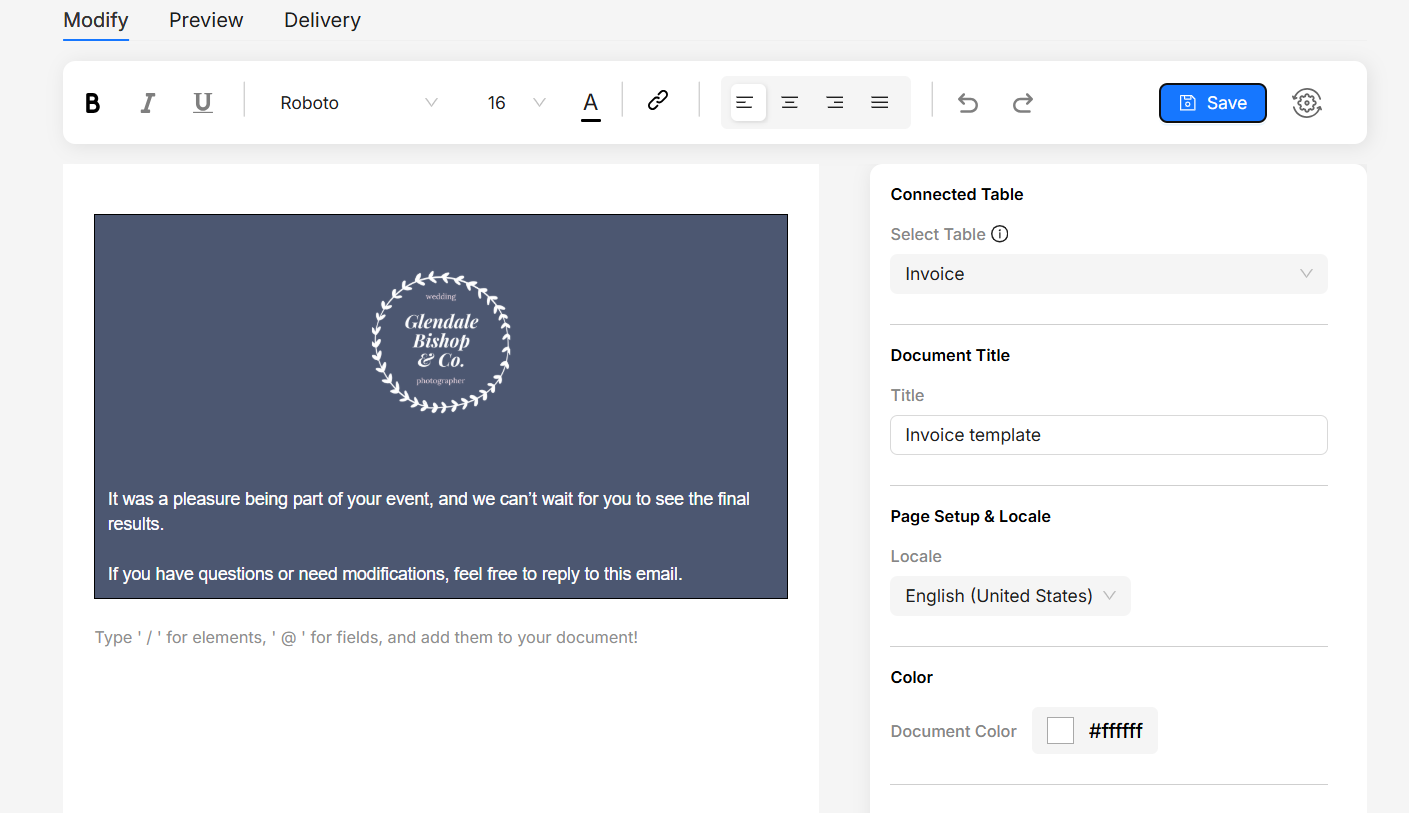
Adding a header section with logo and title
We'll use the column component to create the header section. Our header section will have a logo and a title.
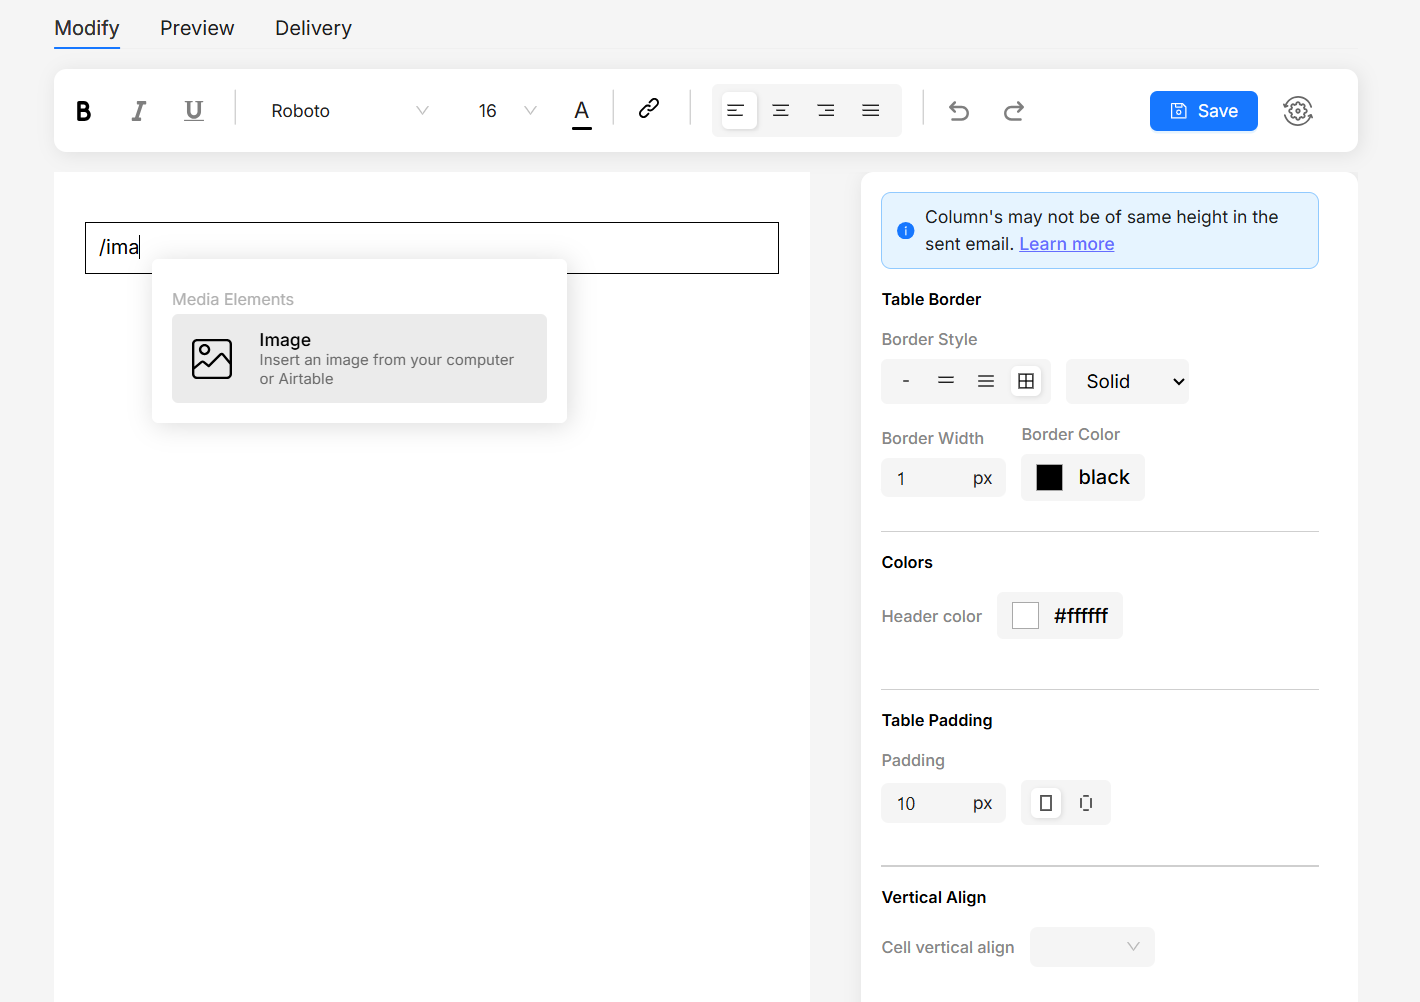
- Type
/in the editor and choose column. Remove the second column. - Inside column, again type
/and choose image. Upload the logo. Use toolbar alignment to center the logo. - Add new lines after logo and enter title. Adjust header color.
Header color in columns will expand to full width of the email, creating a section effect. Add a header color and send a test email to see the result.
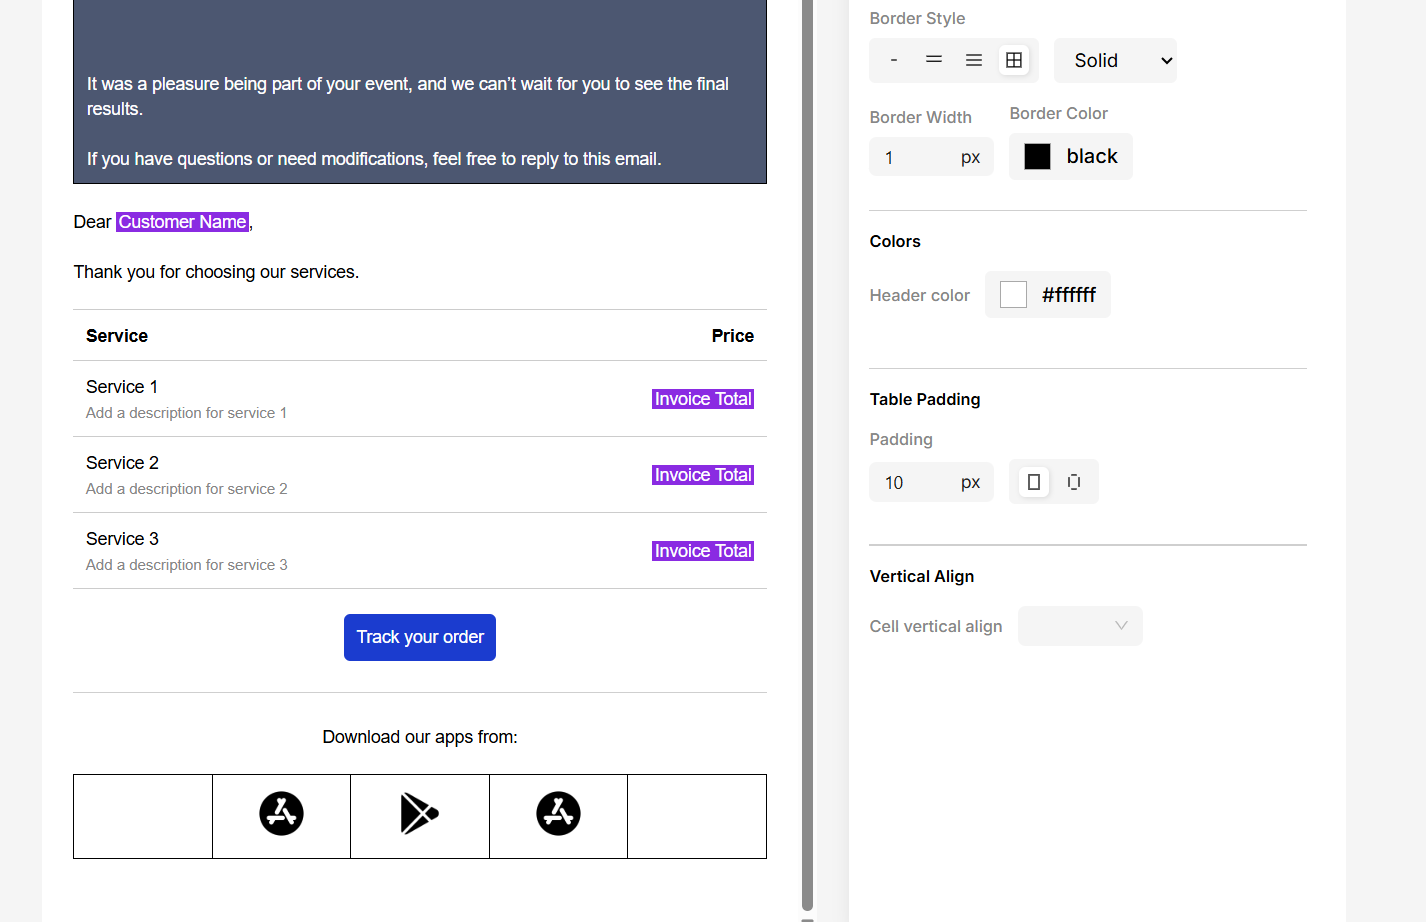
Bringing in order details from Airtable
We will use table component to display order details. You can also convert linked records into table rows, by choosing Dynamic Table component.
- Type
/in the editor and choose table. Keep it to 2 columns, as more columns affect redability in mobile devices. - Inside the table, type
@and choose fields from Airtable table. - Format borders, padding, header colors and text colors to suit your needs.
Column component is responsive. So in mobile devices, columns will stack vertically. But we don't need that for order details table. So we can use Table component instead.

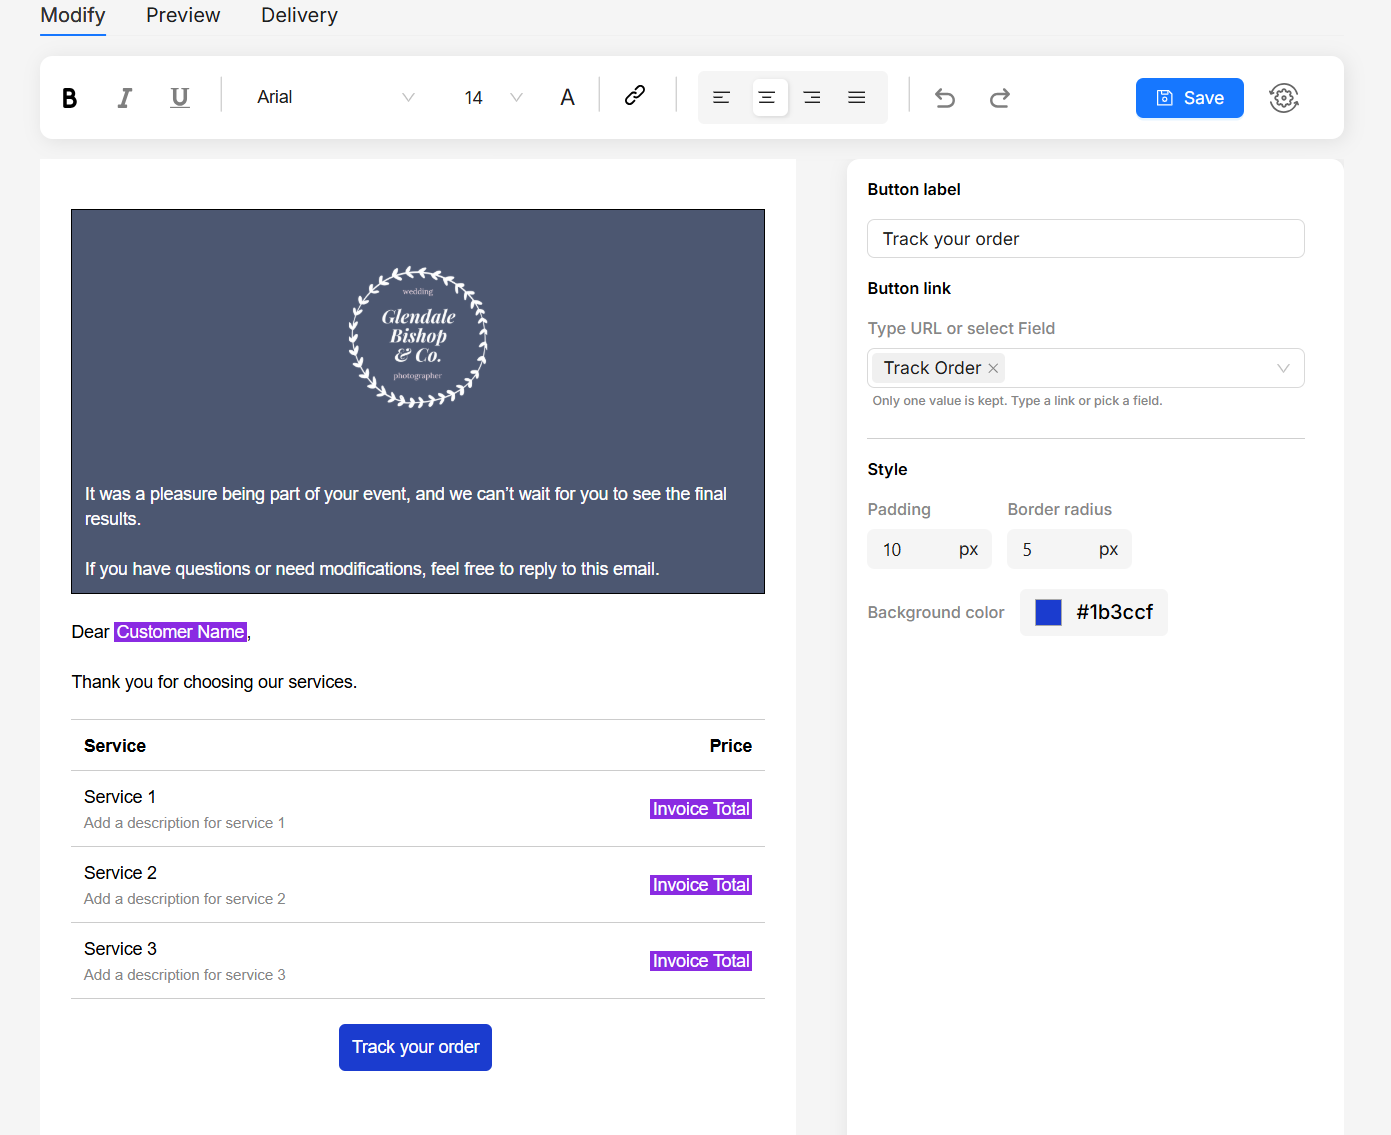
Add an order status tracking button
We will use button component to add a button to track order status.
- Type
/in the editor and choose button. - Click on the button, adjust it's background color from right side panel. Text color and fonts can be changed from the toolbar.
- Change the button text to track order status. Associate a URL field from Airtable to provide dynamic tracking link. You can also use a static URL.
Footer Images
To align images horizontally in footer, we'll use the column component.
- Type
/in the editor and choose column. - Add images in each column. To make the images centered, add extra columns at the start and end.
- Align each image in column to the center, using toolbar alignment.
- Upload images and set a static link